What you do in the first 48 hours after a major hail event determines whether your claim gets paid quickly, paid slowly, or denied. Move through this list in order.
Hour 0-2: Document while the evidence is fresh
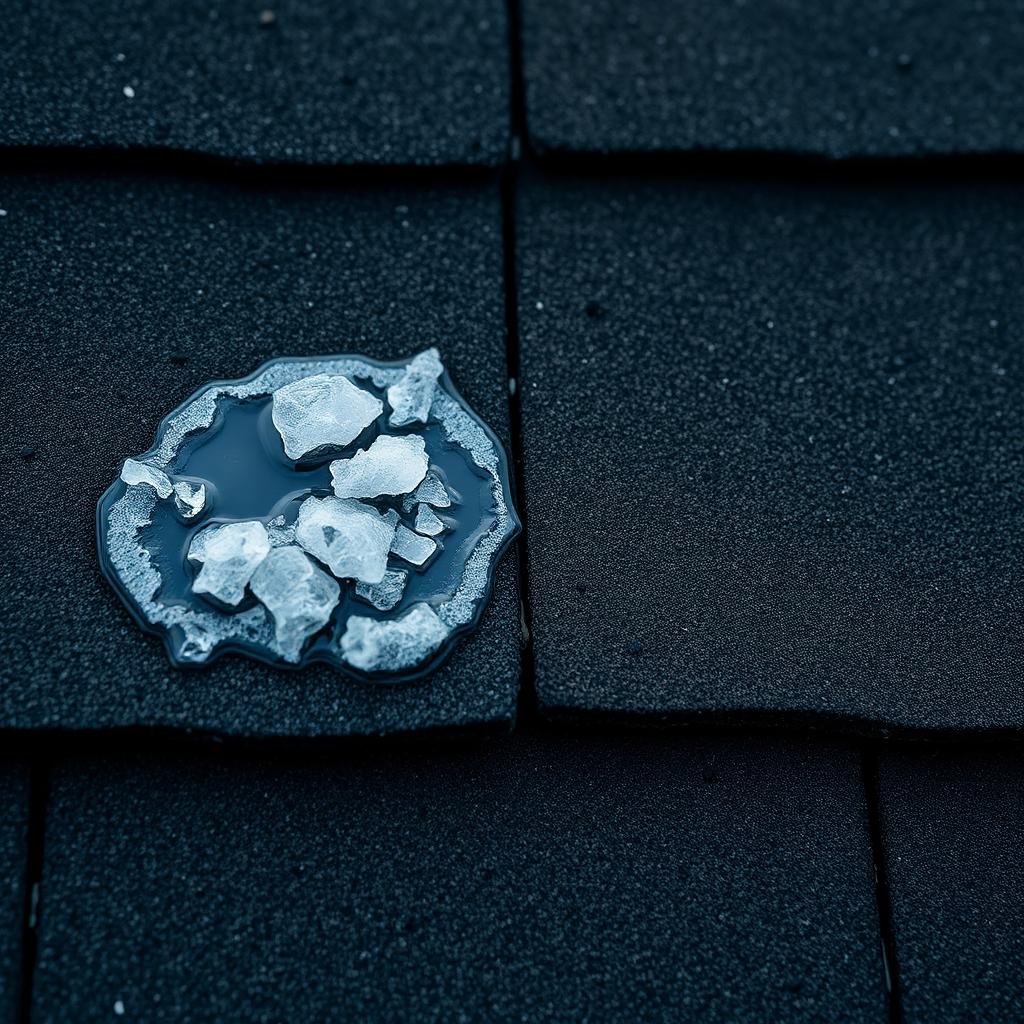
- Photograph hail on the ground next to a coin or ruler — this is the only objective record of stone size.
- Photograph dented gutters, vent caps, AC fins, and the sides of any chimney chase. Soft metals are what adjusters look at first.
- Walk the perimeter and photograph any visible interior leaks or water staining on ceilings.
- Save the local NOAA storm report for your ZIP code (we can pull this for you).
Hour 2-24: Temporary protection
If you have an active leak, tarp it. Most carriers require you to mitigate further damage and will pay for tarping under emergency coverage. Document with photos. Do not climb a wet roof — call a contractor for tarping if there's any pitch above 6/12.
Hour 24-48: File the claim, then schedule the inspection
File the claim with your carrier first — they assign a claim number you'll need. Then book an independent inspection with a roofer for the same day as the adjuster's visit if possible. Having both parties on the roof at the same time prevents the 'we didn't see that' problem.